Save Big, Bake Better: Your Guide to DIY Gourmet Red Velvet Cookies with Cream Cheese Frosting
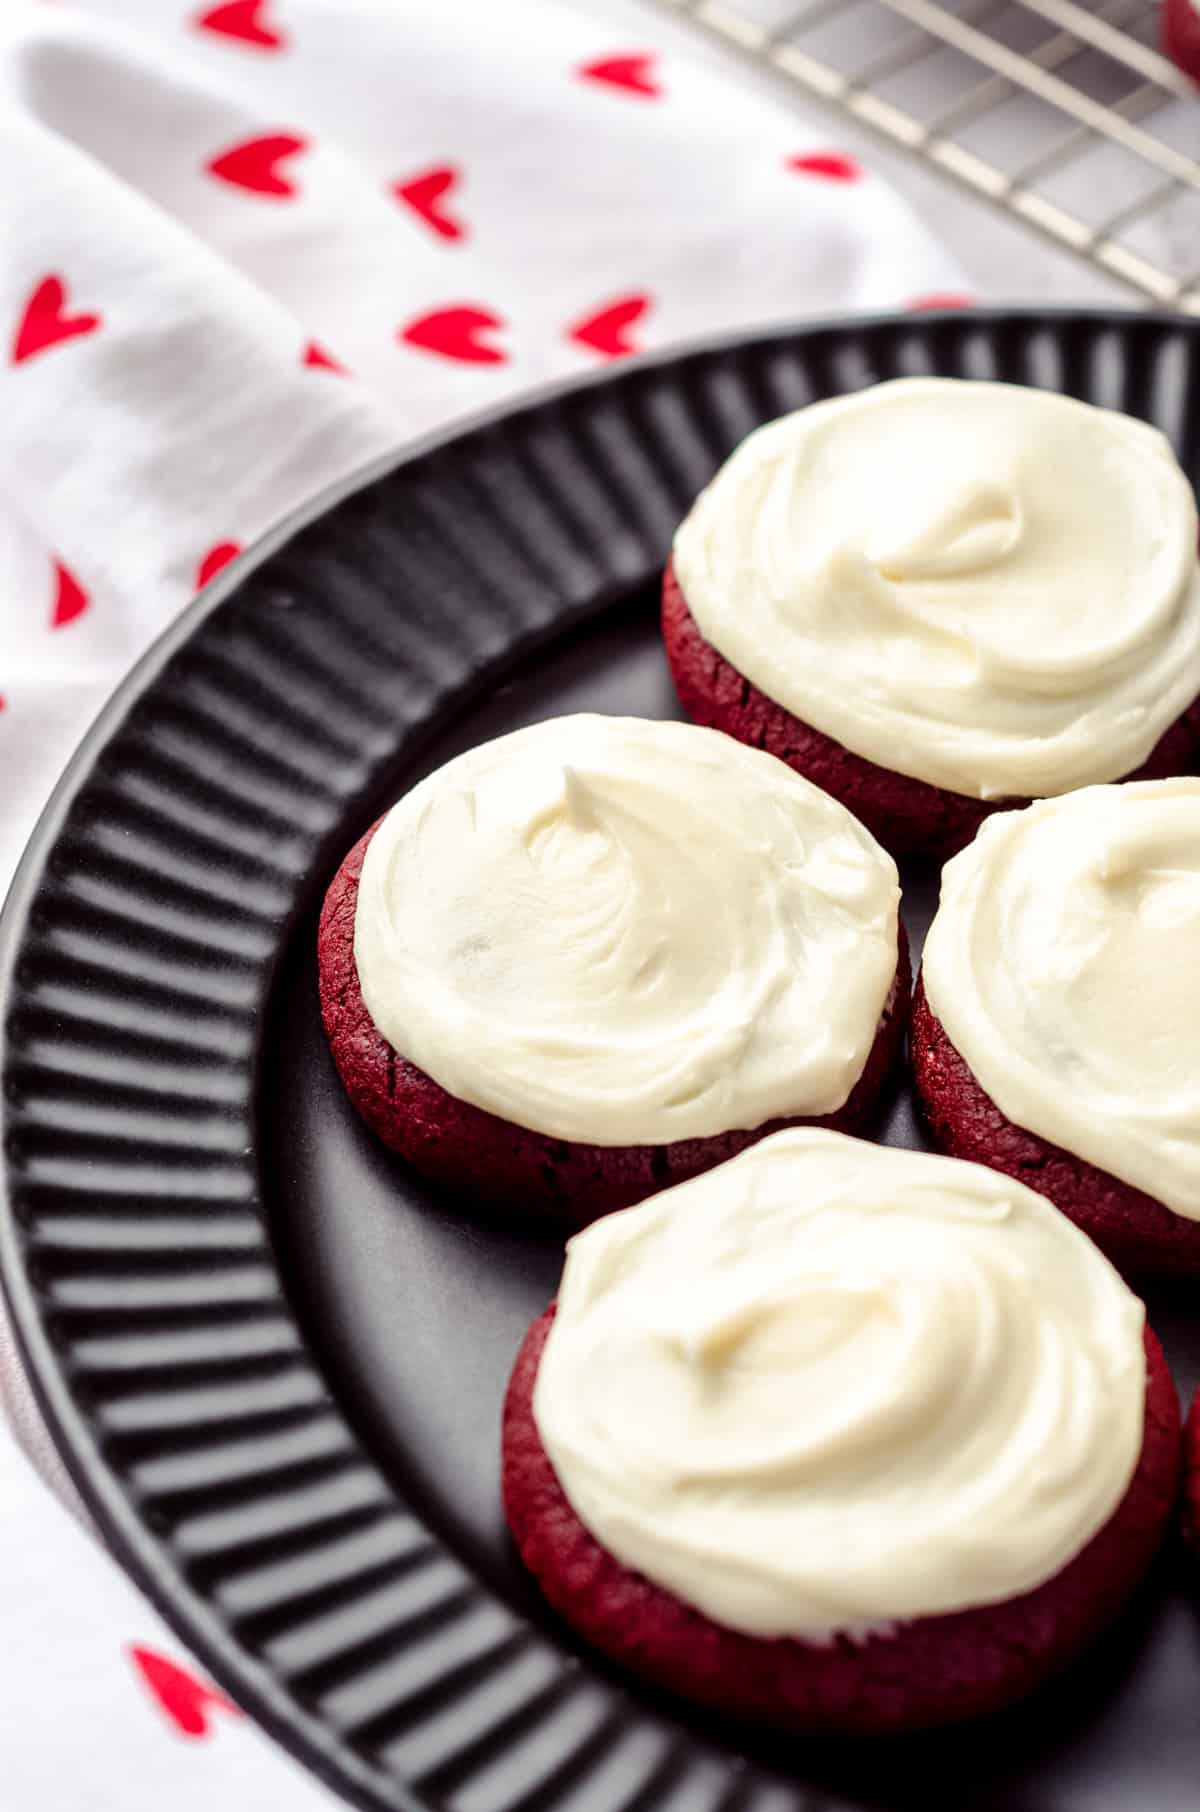
Imagine biting into a soft, chewy red velvet cookie, its deep cocoa notes mingling perfectly with the iconic tang of a silky cream cheese frosting. Now, imagine achieving this bakery-quality indulgence not from an expensive specialty shop, but right from your own kitchen. This isn't just a dream; it's entirely possible, and surprisingly easy, to craft your own batch of irresistible
red velvet cookies with frosting. Forget the hefty price tag and the often-disappointing textures of store-bought versions – we're diving into the delightful world of homemade gourmet baking.
This comprehensive guide will walk you through creating
No Chill Red Velvet Cookies: Achieve Chewy Perfection & Silky Frosting, ensuring every bite is a testament to scratch-made goodness. We'll unveil the secrets to that perfect red velvet flavor and texture, all crowned with an absolutely decadent cream cheese frosting that will make your taste testers exclaim with delight. Get ready to impress yourself and everyone lucky enough to share in your baking triumph!
Why Go DIY for Gourmet Red Velvet Cookies with Frosting?
The allure of a gourmet cookie from a high-end bakery is undeniable, but so is the dent it leaves in your wallet. With individual cookies often retailing for $5-7 or more, a small treat can quickly become an expensive indulgence. This is perhaps the most compelling reason to master your own batch of
How to Make Bakery-Quality Red Velvet Cookies from Scratch. But the savings are just the beginning of the story.
*
Unbeatable Flavor & Texture: Many commercial red velvet cookies, and even some home recipes, rely on cake mixes. While convenient for some applications (like Rice Krispies treats or pancakes), a cake mix often yields a cookie that's too cakey and lacks the rich, nuanced flavor profile of true red velvet. By making your cookies from scratch, you control every ingredient, ensuring a perfectly chewy texture with a profound, balanced cocoa and vanilla flavor that sings through every bite. The goal is to create a cookie so good, your friends might genuinely believe you sourced it from a top-tier bakery.
*
Cost-Efficiency: Beyond saving $5-7 per cookie, you’ll find that the ingredients for a full batch are remarkably affordable, especially if you’re an occasional baker who already keeps pantry staples on hand. This means you can produce a dozen or more gourmet cookies for less than the price of two purchased ones.
*
The Joy of Creation: There’s immense satisfaction in baking something extraordinary from scratch. From mixing the vibrant red dough to artfully swirling the luscious frosting, the process itself is a rewarding experience. Plus, these are "no-chill" cookies, meaning you can go from craving to devouring in under an hour – perfect for those spontaneous sweet cravings.
The Secret to Irresistible Red Velvet Cookies: From Scratch is Best
To truly achieve that "oh my gosh" reaction, moving beyond a cake mix is paramount. While there's a time and place for convenience, crafting your
red velvet cookies with frosting from scratch ensures an unparalleled depth of flavor and that signature soft, chewy interior. The difference is palpable, moving from a merely "red" cookie to a truly "red velvet" experience.
Here’s what you’ll need for the perfect chewy red velvet cookie base and why each ingredient plays a vital role:
*
All-Purpose Flour: The foundation of our cookie structure, providing chewiness without being overly dense.
*
Unsweetened Cocoa Powder: This is where the magic begins. Crucially, opt for *natural* unsweetened cocoa powder over Dutch-processed for this recipe. Natural cocoa powder is acidic and reacts with baking soda to create lift and that classic reddish hue when combined with food coloring. Dutch-processed cocoa, which is alkalized, is much darker and can mute the vibrant red color we're aiming for, as some bakers have discovered!
*
Baking Soda: Our leavening agent, working with the cocoa to create a soft, slightly risen texture.
*
Salt: Don't skip it! A pinch of salt balances the sweetness and enhances all the other flavors, making them pop.
*
Unsalted Butter & Granulated Sugar: Creaming these together creates air pockets, leading to a tender and light texture in the finished cookie.
*
Egg: Acts as a binder and contributes to the richness and chewiness.
*
Vanilla Extract: Essential for that classic red velvet flavor profile. Use a good quality pure vanilla extract for the best results.
*
Red Food Coloring: This is key for the iconic crimson color. *Gel food coloring* is highly recommended over liquid, as it's far more concentrated and won't thin out your dough. You'll achieve a deep, vibrant red with less product, preventing a watery consistency that can impact your cookie's texture. Don't be shy; use enough to achieve a rich, striking color.
The process of mixing these ingredients is straightforward. If you can combine ingredients in a bowl, you can make these cookies. The goal is to gently combine until just mixed, avoiding overmixing which can lead to tough cookies.
Crafting the Silky Smooth Cream Cheese Frosting
No
red velvet cookie with frosting is complete without its iconic companion: a rich, tangy, and incredibly smooth cream cheese frosting. This isn't just an afterthought; it's the perfect counterpoint to the sweetness and cocoa notes of the cookie, elevating the entire experience. This particular recipe promises an "out of this world" frosting that is extra creamy and utterly irresistible.
Here's what you’ll need and some crucial tips for perfection:
*
Full-Fat Cream Cheese: This is non-negotiable for a truly rich and stable frosting. Reduced-fat versions contain more water and will result in a runny, less flavorful frosting. Ensure your cream cheese is softened to room temperature for smooth blending, but not so warm that it’s greasy.
*
Unsalted Butter: Also softened to room temperature. This provides richness and helps with the frosting’s structure. Like the cream cheese, avoid using butter that’s too warm.
*
Powdered Sugar (Confectioners' Sugar): Provides sweetness and body. Sifting it before adding is a secret weapon against lumps, ensuring a truly silky smooth consistency.
*
Vanilla Extract: Again, pure vanilla extract enhances the flavor profile beautifully.
*
Salt: This is perhaps the most important, yet often overlooked, ingredient in sweet frostings. Many home bakers shy away from salt in desserts, but in cream cheese frosting, a *pinch* of salt works wonders. It cuts through the sweetness, brightens the tangy cream cheese, and enhances the overall flavor balance, preventing the frosting from being cloyingly sweet. Trust us on this – don't leave it out!
Tips for a Flawless Frosting:
1.
Temperature is Key: Ensure both your cream cheese and butter are perfectly softened. If they're too cold, you'll get lumps. If they're too warm, the frosting will be runny.
2.
Cream Properly: Start by beating the softened cream cheese and butter together until light and fluffy. This aeration is crucial for a smooth texture.
3.
Add Powdered Sugar Gradually: Adding the sugar slowly and mixing on low speed prevents a sugar cloud and allows it to incorporate smoothly.
4.
Don't Overbeat: Once the powdered sugar is fully incorporated, avoid overbeating, which can introduce too much air and lead to a less stable, sometimes grainy, frosting. Beat just until smooth and creamy.
Mastering Your DIY Gourmet Cookie Experience
Now that you understand the ingredients and their roles, let's talk about the final touches that make your homemade
red velvet cookies with frosting truly gourmet.
*
No-Chill Convenience: One of the greatest advantages of this recipe is that it's a "no-chill" cookie dough. This means no waiting around for the dough to firm up in the refrigerator, allowing you to satisfy those cookie cravings almost instantly.
*
Baking for Perfection: Don't overbake your cookies! Red velvet cookies are best when they are soft and slightly underbaked in the center, as they will continue to set as they cool. Look for edges that are just barely set and centers that look a little soft.
*
Cooling is Crucial: Ensure your cookies are completely cooled before applying the cream cheese frosting. Frosting warm cookies will cause the frosting to melt and slide right off, creating a messy situation.
*
Presentation Matters: A beautifully frosted cookie is a feast for the eyes. Use a piping bag with a decorative tip to create elegant swirls, or simply use an offset spatula for a rustic, generous dollop. For an extra touch of bakery charm, you can crumble a small piece of a baked (or even underbaked, if you want a softer crumb) red velvet cookie over the frosting, as seen in some specialty bakeries.
*
Storage: Store your frosted red velvet cookies in an airtight container in the refrigerator due to the cream cheese frosting. Bring them to room temperature for 15-20 minutes before serving for the best texture and flavor.
By following these insights and embracing the "from scratch" philosophy, you’re not just baking cookies; you’re creating an experience. These homemade
red velvet cookies with frosting will become a staple in your repertoire, proving that gourmet quality doesn't need to come with a gourmet price tag.
Conclusion
You now have all the tools and knowledge to embark on your journey of creating truly phenomenal
red velvet cookies with frosting. Gone are the days of expensive bakery runs or settling for mediocre cake-mix versions. With a handful of pantry staples, a little attention to detail, and the confidence to bake from scratch, you can consistently produce cookies that are chewy, rich, beautifully red, and topped with the most exquisite, tangy cream cheese frosting. Not only will you save a significant amount of money, but you'll also gain immense satisfaction from knowing you crafted these irresistible treats yourself. So, preheat your oven, gather your ingredients, and prepare to delight your senses – and everyone else's – with your homemade gourmet masterpiece!